Teaching a SUSTAINED TARGET
The power of choice.
Why would you want to teach a sustained target?
Oh, there are sooo many reasons I can think of. It empowers your dog, and can be used for husbandry behaviours including examination, blood tests, radiography and ultrasonography, grooming, bathing, medication etc.
Honestly who wouldn’t want to make those things that little bit easier?
So what is a sustained target – it is when an animal puts a body part on an object and holds it there. This in our case today will be a chin on to a towel, stool or hand. However, it could be a shoulder on to cage bars, a paw on to a block for elephant nail care etc.
The important thing is though, once an animal understands the game, and has built duration, only then do we add physical touches etc. When adding these touches, medications etc, these are also done gradually, and most importantly, if the animal disengages from the target, the procedure immediately stops (that is how they have choice). If they remain engaged, reinforcement happens, if they disengage, nothing bad happens, no ahh ahh etc. Wait for them to re-engage and then reduce criteria slightly to be able to offer reinforcement.
So to start:
Step 1:
Choose an area of minimal distractions to start
Step 2:
Choose a position that your learner finds comfortable – some may be standing, sitting, laying down etc.
Step3:
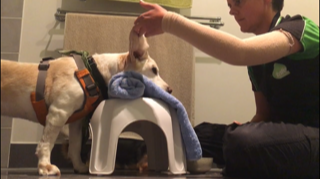
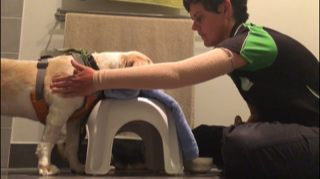
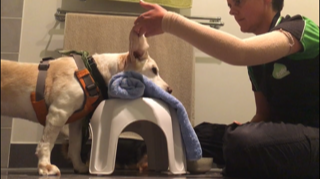
Provide a surface to target to, that is comfortable. I used a rolled-up towel. And then lure in to position and mark (click/light) and reward. Do this several times at a rapid rate.
Step 4:
Wait a second, if your learner offers the position – just a slight head drop in this case – immediately mark and reward.
Step 5:
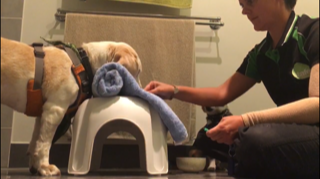
Build on this and gain duration of a few seconds with firmish pressure.
Step 6:
Add the slightest movement from you – I use my hand and wiggle fingers. If the animal stays in position, click and reward. If they move, stop, wait for them to engage again, and wiggle less.
Step 7:
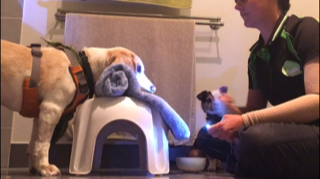
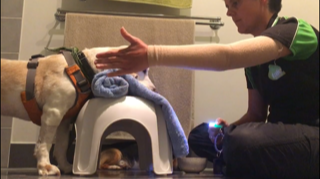
Build upon this until you are able to move your arm, or have another person move around the animal.
Step 8:
Start to touch the animal. But here is a thing. Don’t be “creepy” when you touch them. The little light tickles will likely freak them out, touch them as you would touch your own arm.
Continue to build upon this until you can add objects (brushes, syringes, clippers etc) in.
Remember they always have the power to stop the procedure.
Step 9:
Start to generalise the behaviour in new environments.
For a video of the process start to finish with 3 different dogs. See below.
